Urban sketching for beginners: the kit you need, how to choose a view, quick perspective tricks and the joy of drawing your town on location.
The Allure of Urban Sketching
There's a unique magic to urban sketching, a tangible connection to a place that transcends a mere photograph. For me, it's an intimate conversation with my surroundings, a chance to truly see the architecture, the people, and the fleeting moments that define a city. I remember my first foray into sketching on location – a bustling street corner in my hometown. The initial intimidation was palpable. So many details, so much movement, how could I possibly capture it all?
Yet, as I tentatively put pen to paper, a sense of calm settled over me. The world outside seemed to fade, replaced by the focused act of observation and translation. This isn't about creating a perfect, photographic reproduction; it's about interpreting, feeling, and conveying the essence of a scene through my own hand and eye. Urban sketching offers a fresh perspective, turning the mundane into the magnificent and revealing hidden beauty in the everyday.
It's a practice that grounds me, fostering mindfulness and a deeper appreciation for the environment I inhabit. Each sketch becomes a tiny time capsule, holding not just the image, but the ambient sounds, the temperature of the air, and even the snippets of conversations overheard. It's an intensely personal journey, yet one that yields tangible artifacts – my visual diary of the world.
My Initial Fears and How I Overcame Them
When I first considered urban sketching, a flurry of anxieties flooded my mind. What if my drawings weren't good enough? What if people stared? What if I couldn't capture the intricate details of the buildings? These were valid concerns for a beginner, and I imagine many people feel the same. My first attempt was admittedly awkward. My lines were hesitant, my perspectives skewed, and I spent more time fretting about onlookers than I did observing my subject.
However, I soon realized that the beauty of urban sketching lies not in perfection, but in the process. I learned to embrace the imperfections, viewing them as hallmarks of an honest, on-location drawing. The stares, I discovered, were often born of curiosity or even admiration, not judgment. I started with small, unassuming subjects – a parked bicycle, a singular lamppost, a potted plant on a windowsill – gradually building my confidence.
The key, for me, was to shift my focus from the outcome to the experience. It wasn't about creating a masterpiece; it was about connecting with the moment, developing my observational skills, and enjoying the act of drawing. With each subsequent sketch, the fear diminished, replaced by a growing sense of enjoyment and accomplishment.
Why Sketching on Location is So Important to Me
The act of sketching on location offers an unparalleled richness that a studio drawing, even from a photograph, simply cannot replicate. For me, it's an immersive experience. I'm not just drawing what I see; I'm drawing what I feel, what I hear, and even what I smell.
The subtle changes in light and shadow throughout the day, the gentle sway of trees in the breeze, the distant rumble of traffic, the chattering of passersby – all these elements seep into my consciousness and, often unconsciously, influence my strokes and choices. There's an immediacy to it, a sense of capturing a fleeting moment in time that will never be exactly the same again. A photograph captures an instant, but a sketch, for me, captures a duration.
I'm actively engaged with the scene, making decisions in real-time, simplifying complex forms, and emphasizing what I find most compelling. This active engagement creates a much deeper connection to the place. I remember the chill of the morning air, the warmth of the sun on my back, the particular blend of coffee from the nearby cafe, all intertwined with the lines and washes on my page. This sensory engagement is what truly elevates urban sketching for me, transforming it from a mere technical exercise into a profound, personal interaction with my environment.
If you're interested in enhancing your urban sketching skills, you might find the article "Urban Sketching: How to Draw Your Town on Location" particularly useful. It offers practical tips and techniques for capturing the essence of your surroundings while sketching on location. For more resources and tools to aid your artistic journey, check out this related article on art supplies and workshops at Enda Storrie's shop.
Assembling My Essential Urban Sketching Toolkit
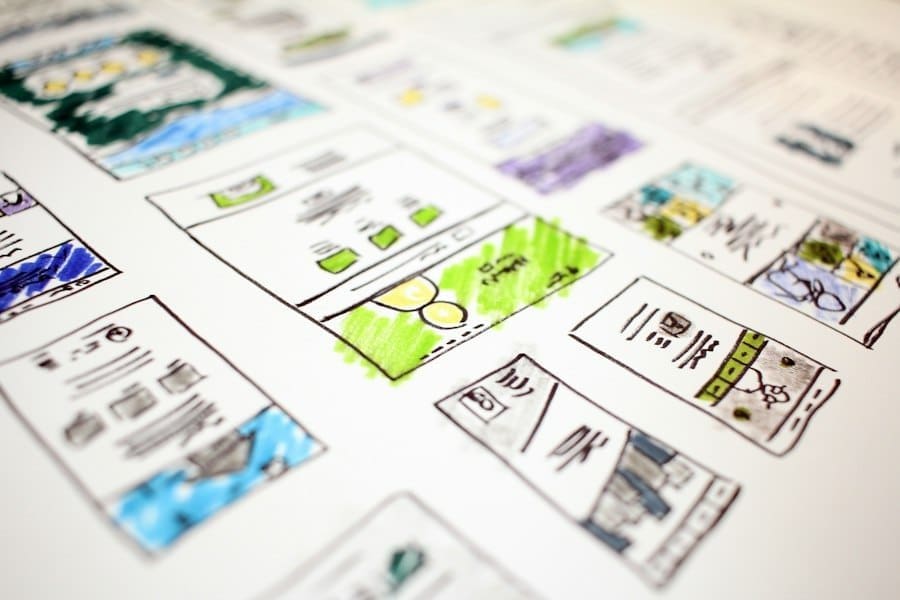
Over time, I've curated a compact and efficient urban sketching kit that allows me to be spontaneous and agile. The beauty of this hobby is its accessibility; you don't need expensive equipment to get started. My philosophy is to keep it light, versatile, and dependable. The right tools, for me, aren't about luxury, but about functionality and comfort.
I've experimented with various brands and types of supplies, gradually narrowing down my preferences to a core set that consistently serves my needs and artistic style. This toolkit fits snugly into a small bag, ready to be deployed at a moment's notice, whether I'm exploring a new neighborhood or simply taking a coffee break. It’s a collection that brings me a sense of familiarity and preparedness, allowing me to focus on the act of sketching rather than worrying about missing supplies.
My Go-To Sketchbook Selection
My sketchbook is arguably the most crucial item in my kit. I prefer one that’s robust enough to handle various mediums yet compact enough to carry easily. For me, the A5 size is ideal – not too small to feel restrictive, yet not so large that it becomes cumbersome. I always opt for paper with a good weight, typically around 200gsm (grams per square meter), as this prevents buckling when I use watercolors or even heavier ink washes.
The texture of the paper is also important; I generally prefer a cold-press finish, which has a slight tooth that beautifully grabs pigments and ink, but isn't so rough that it interferes with fine detail work. My current favorite features an elastic band closure to keep my pages protected and a sturdy cover that doubles as a firm backing when I’m sketching on the go without a table. Having a reliable sketchbook is like having a trusted companion; it’s where all my visual stories unfold.
My Preferred Drawing Instruments
When it comes to drawing instruments, I keep it relatively simple but effective. My absolute staple is a waterproof black ink pen, usually a fine-liner with a 0.3mm or 0.5mm tip. This allows me to lay down crisp lines that won't bleed when I add watercolor washes later. I also carry a slightly thicker black ink pen, around 0.8mm, for adding emphasis or bolder outlines. For initial rough sketches and underdrawings, I rely on a mechanical pencil with 2B lead.
The lead is soft enough to lay down easily visible lines without pressing too hard, and the mechanical pencil means I never need a sharpener. I also tuck in a small white gel pen for adding highlights and correcting minor mistakes, which can bring a sketch to life, especially in depicting light on glass or metal. These instruments provide a good range of line weights and opacity, essential for creating dynamic and engaging compositions.
+ Join Our Writing Community for FREE
Chain Story Online
Fun, free, flash fiction writing with writers just like you. You have ~100 words to begin a story or continue a story and make it yours.
Story Bible Studio
Digital space for writers to plot, plan, and build better stories. Designed by writers for writers. Your final draft awaits.
My Chosen Watercolor Palette and Brushes
Watercolors are where my sketches truly come alive with color and atmosphere. I use a small, portable pan set, typically with around 12 to 18 essential colors. I’ve customized my palette over time, replacing colors I rarely use with more frequently needed hues like specific blues for skies or various greens for foliage. Portability is key here, so I favor sets that come in a sturdy tin with a mixing area in the lid. For brushes, I’ve found that a water brush is an indispensable tool for urban sketching.
It has a built-in water reservoir, eliminating the need for a separate water pot, which is incredibly convenient on location. I usually carry two sizes: a medium round tip for general painting and a smaller, fine-tipped water brush for details. I also include a small, synthetic travel brush, size 6 or 8, for when I want to work with a separate water source or need a bit more control. This combination allows for a wide range of expressive brushstrokes, from broad washes to delicate details, all without weighing down my bag.
Mastering On-Location Composition and Perspective
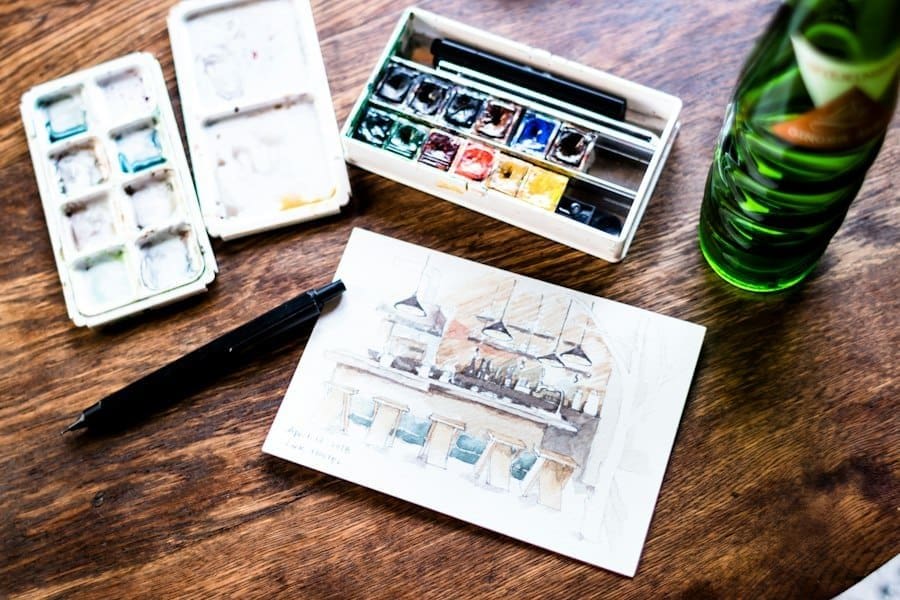
One of the greatest challenges, and ultimately rewards, of urban sketching is composing a compelling scene from the chaos of reality. Unlike working from a photograph, where the frame is already set, I'm faced with an expansive, three-dimensional world and tasked with selecting and arranging elements within my sketchbook's two-dimensional confines. This isn't just about drawing what's there; it's about making deliberate choices to tell a visual story.
I've learned that a good composition can transform an ordinary street scene into something captivating, guiding the viewer's eye and conveying a sense of depth and atmosphere. Perspective, too, is crucial. It’s the visual language that creates the illusion of distance and dimension, allowing me to draw buildings and objects convincingly as they recede into the background. While it might sound daunting, I've found that a few fundamental principles, practiced consistently, can demystify these concepts and significantly elevate my sketches.
Simplifying Complex Scenes
The urban environment is often teeming with visual information – countless windows, bricks, cars, people, and intricate architectural details. My initial instinct was to try and draw everything, which inevitably led to overwhelmed, cluttered sketches. I quickly learned that simplification is not just a technique, but a necessity. My approach now involves identifying the main subject or focal point of the scene and then consciously deciding what not to draw. I often squint my eyes to blur out extraneous details, allowing the larger shapes and value masses to emerge.
Buildings can be simplified into geometric blocks, trees into masses of foliage, and people into simplified stick figures or silhouettes. I also employ a hierarchy of detail: the main subject receives the most attention, while elements further away or less important are rendered with fewer lines and less distinct forms. This selective detailing helps create a sense of depth and ensures that the viewer’s eye is drawn to where I intend it to be. It's about suggesting details rather than explicitly drawing every single one, allowing the viewer's imagination to fill in the blanks.
Understanding Basic Perspective Techniques
Perspective is the backbone of any convincing architectural sketch. I don't aim for perfect, ruler-accurate perspective every time, especially in a quick sketch, but I do strive for believable perspective. My starting point is always the horizon line (eye level). This imaginary line is critical because it dictates where vanishing points will lie. For simple scenes, I often use a one-point perspective, where parallel lines receding into the distance converge at a single vanishing point on the horizon.
This works well for looking straight down a street or into a corridor. More often, I employ two-point perspective, which is ideal for sketching buildings from a corner, where two faces of the building recede towards two different vanishing points on the horizon. I begin by drawing light guidelines for these vanishing points and then construct my basic forms within this framework.
For even more dynamic compositions, especially when looking up or down at a building, I might dabble in three-point perspective, introducing a third vanishing point either above or below the horizon. The key for me is to start with loose, foundational lines to establish the overall structure and then refine the details within that framework. Consistent practice has made these concepts much more intuitive.
Capturing Light and Shadow
Light and shadow are what give a sketch its depth, drama, and sense of time. Without them, a drawing can feel flat and lifeless. I pay close attention to the direction and intensity of the light source. Is it a bright, sunny day creating sharp, defined shadows, or a soft, overcast day with more subtle gradations? I often begin by identifying the main light source and then block in the major areas of shadow. I think of shadows as shapes in themselves, observing how they fall across different surfaces and connect various elements of the scene.
I use stronger lines and darker washes for areas in deep shadow, and lighter lines and washes for areas illuminated by the sun. Sometimes, I even use the white of the paper to represent direct highlights, making them pop against the darker tones. Capturing the interplay of light and shadow not only makes my sketches more three-dimensional but also imbues them with a particular mood and atmosphere, making the scene feel more alive and palpable. It’s a crucial element in conveying the time of day and the overall ambiance of the location.
If you're looking for a collaborative writing platform, check out Chain Story Online. It's a great way to connect with other writers and create stories together. Many users have found inspiration and creativity through Chain Story Online.
Adding Life and Atmosphere to My Sketches
Once the foundational lines and basic perspective are established, my focus shifts to breathing life into the scene. A sketch isn't just about buildings; it's about the people who inhabit them, the objects that tell stories, and the overall feeling of a place. For me, this is where urban sketching truly becomes an art of observation and interpretation.
It’s about more than just rendering what I see; it’s about conveying the energy, the sounds, and the very soul of the location. I strive to infuse my sketches with a sense of dynamism, making them feel less like static representations and more like captured moments. This involves a combination of techniques, from depicting human activity to employing color in a way that enhances the mood rather than merely duplicating reality.
Incorporating People and Figures
People are an integral part of the urban fabric, and including them in my sketches instantly adds scale, narrative, and vibrancy. I don't aim for detailed portraits, especially in quick sketches. Instead, I focus on capturing gestures, postures, and general forms. People become 'human elements' – simplified figures that suggest movement and activity. I might sketch them as silhouettes, quick scribbled outlines, or small groups interacting. The key is to convey their presence without getting bogged down in intricate details.
I often look for people standing or walking in interesting poses, or engaging in everyday activities like talking on the phone, pushing a stroller, or sipping coffee. Placing figures strategically can also help guide the viewer's eye through the composition and add a sense of depth. A few well-placed, loosely drawn figures can transform a sterile street scene into a lively, believable environment.
Using Color to Enhance Mood and Focus
Color is a powerful tool for conveying emotion, atmosphere, and drawing attention to specific areas. When I introduce watercolors, I don't try to replicate colors exactly as they appear in reality. Instead, I use them interpretively. For instance, a bright, warm yellow might represent sunlight filtering through leaves, even if the actual leaves are green. Cool blues and grays can evoke a sense of calm or a cloudy day. I often start with light washes to establish the overall tone, then gradually build up layers to add depth and saturation in key areas.
I also think about color temperature – using warm colors (reds, yellows, oranges) for elements I want to bring forward and cool colors (blues, greens, purples) for elements I want to recede. Sometimes, I might use a limited palette of only a few colors to create a more harmonious and focused sketch, or to emphasize a particular dominant hue in the scene. The goal is to use color not just as decoration, but as an expressive element that deepens the narrative and emotional impact of my drawing.
Adding Textures and Details Selectively
While simplification is crucial, selective detailing and the suggestion of texture can add immense richness to a sketch. I don't draw every brick on a wall, but I might suggest the rough texture of brickwork with a few quick, broken lines or a stippled wash. The grain of wood, the reflective quality of glass, the unevenness of cobblestones – these are all textures I try to imply rather than meticulously render.
For instance, a few horizontal lines and smudges can suggest the reflection in a window, while varying line pressure can hint at the rough surface of a tree trunk. I reserve finer details for my focal point, drawing attention to a particular architectural ornament, a distinctive sign, or the intricate pattern on a piece of clothing. These selective details, when placed thoughtfully, prevent the sketch from feeling overly sparse and add a layer of visual interest, rewarding the viewer who lingers on the page. It's about finding the balance between broad strokes and subtle accents.
If you're interested in enhancing your urban sketching skills, you might find the article on capturing the essence of your surroundings particularly helpful. It offers valuable insights and techniques that can complement your practice of drawing your town on location. For more information, check out this related article that dives deeper into the art of observation and sketching in urban environments.
Embracing Imperfection and Developing My Unique Style
In the world of urban sketching, striving for photographic perfection can be a trap. I've learned that the beauty lies precisely in the imperfections, the evidence of the human hand, and the unique interpretation of the artist. This realization was a turning point for me, freeing me from the pressure of flawless execution and allowing my personal voice to emerge more authentically. It’s a continuous journey of self-discovery, where every sketch, regardless of its perceived "success," contributes to my growth and the refinement of my individual approach. Embracing this philosophy has transformed my sketching practice from a potentially stressful endeavor into a truly joyful and expressive outlet.
Learning from My Mistakes
Every sketch, particularly those I consider "unsuccessful," offers invaluable lessons. I used to be frustrated by skewed perspectives, muddy colors, or compositions that just didn't work. Now, I view these as opportunities for growth. After a sketching session, I often take a moment to review my work, not with judgment, but with curiosity. What went wrong here? Could I have used a different brushstroke? Was my initial observation of the light source inaccurate? Perhaps I tried to cram too much onto the page.
I'll make mental notes, or even jots down thoughts in the margins of my sketchbook, to inform my next session. Sometimes, a "mistake" in one sketch might lead to a happy accident in another, pushing me to experiment with new techniques or approaches. For instance, a smudged ink line might inspire me to deliberately create blurred effects. This iterative process of sketching, reflecting, and adapting is fundamental to my learning and improvement.
Finding My Artistic Voice
My artistic voice isn't something I set out to "find" consciously; rather, it has emerged naturally through consistent practice and a willingness to experiment. It's a blend of my preferred materials, my choice of subject matter, my approach to line work, and my particular use of color. Some urban sketchers focus on intricate architectural details, while others prioritize capturing the energy of crowds. Some use vibrant, expressive colors, while others prefer muted, atmospheric tones.
I've found that my style tends to lean towards a balance of strong ink lines with loose, expressive watercolor washes, often with a slight emphasis on dynamic compositions and the interplay of light and shadow. I'm drawn to scenes that tell a story, even if it's just the story of a fleeting moment. This "voice" is ever-evolving, influenced by artists I admire, new techniques I try, and the changing way I perceive the world around me. It's a reflection of my inner self projected onto the page, making each sketch uniquely mine.
The Joys of Regular Practice and Sharing
Consistency is key to improvement and enjoyment in urban sketching. I try to make sketching a regular part of my routine, even if it's just for 15 minutes during a lunch break or a quick sketch of my morning coffee. The more I draw, the more my hand-eye coordination improves, my observational skills sharpen, and my confidence grows. Each completed sketch, no matter how small or seemingly insignificant, is a triumph of observation and commitment.
And while urban sketching is a deeply personal activity, sharing my work has added another layer of joy and connection. I often share my sketches on social media platforms dedicated to urban sketching, or with local sketching groups. The feedback, encouragement, and camaraderie from a supportive community are incredibly motivating. It's inspiring to see how others interpret similar scenes and to learn from their approaches. This combination of regular, solitary practice and occasional shared experience has been instrumental in keeping my passion for urban sketching alive and thriving.
Related reading: How to Make Time for Creativity When Life Is Busy · How to Start Painting With Watercolours: A Beginner's Guide
Enda Storrie is a writer and the creator of Story Bible, the planning journal and app for writers, and Chain Story Online, a free collaborative storytelling platform.