Why Your Audio Quality Matters More Than You Think
In today’s interconnected world, your voice is your brand. Whether you’re pitching a client on a video call, sharing your expertise on a podcast, or catching up with loved ones, clear, crisp audio is no longer a luxury – it’s an expectation. Think about it: how many times have you abandoned a YouTube video because the speaker sounded like they were recording from inside a tin can? Or struggled to follow a podcast because of distracting background noise and muffled dialogue? Poor audio quality doesn’t just make you sound unprofessional; it actively alienates your audience and undermines your message.
On video calls, a grainy webcam might be forgivable, but garbled audio immediately creates a barrier to communication. You’ll find yourself repeating points, asking for clarification, and ultimately extending the duration of meetings unnecessarily. For podcasts, where the auditory experience is paramount, subpar audio is a death knell. Listeners have an abundance of high-quality content at their fingertips; they won’t hesitate to switch to a podcast that offers a more pleasant listening experience. Investing in a good microphone isn’t just about sounding better; it’s about respecting your audience’s time and attention, enhancing your credibility, and ensuring your message is heard, understood, and remembered. It’s the silent workhorse that elevates your digital presence, making you sound polished, professional, and present.
If you’re looking to enhance your audio quality for video calls and podcasts, you might find our article on the Best Microphones for Video Calls and Podcasts particularly useful. Additionally, for those interested in exploring the great outdoors, check out this inspiring piece about conquering Nephin: Conquering Nephin: A Walk to the Summit, which highlights the beauty and challenges of hiking in stunning landscapes.
Understanding Microphone Types and Their Applications
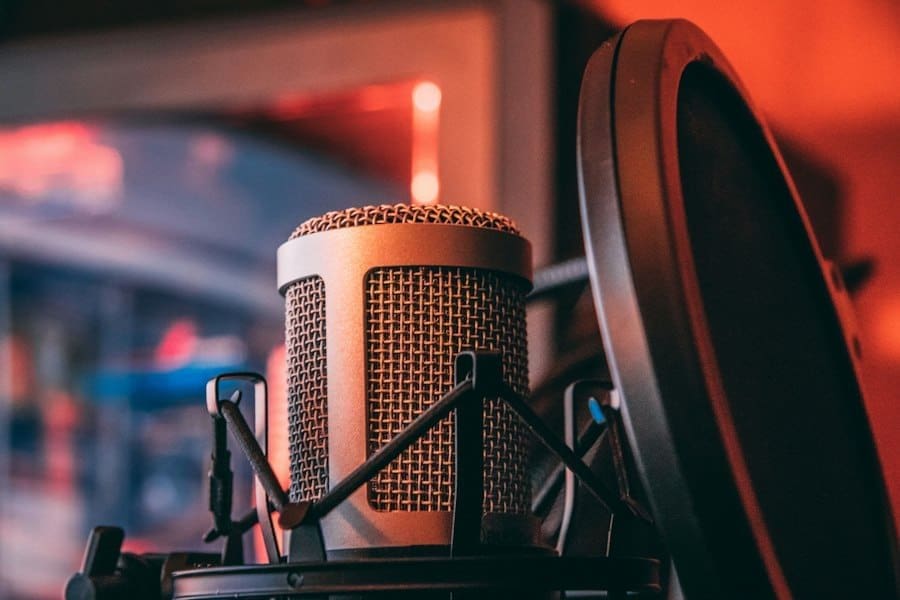
Before you dive into specific recommendations, it’s crucial to understand the fundamental differences between various microphone types. Each has its strengths and weaknesses, making certain microphones better suited for specific scenarios. Choosing the right type will significantly impact your audio quality and overall recording experience.
Dynamic Microphones: Your Workhorse for Robust Sound
Dynamic microphones are generally robust, durable, and don’t require an external power source (phantom power). They work by using electromagnetic induction to convert sound waves into an electrical signal. This makes them less sensitive to subtle nuances and better at handling high sound pressure levels (SPLs), meaning they can take a loud sound without distorting.
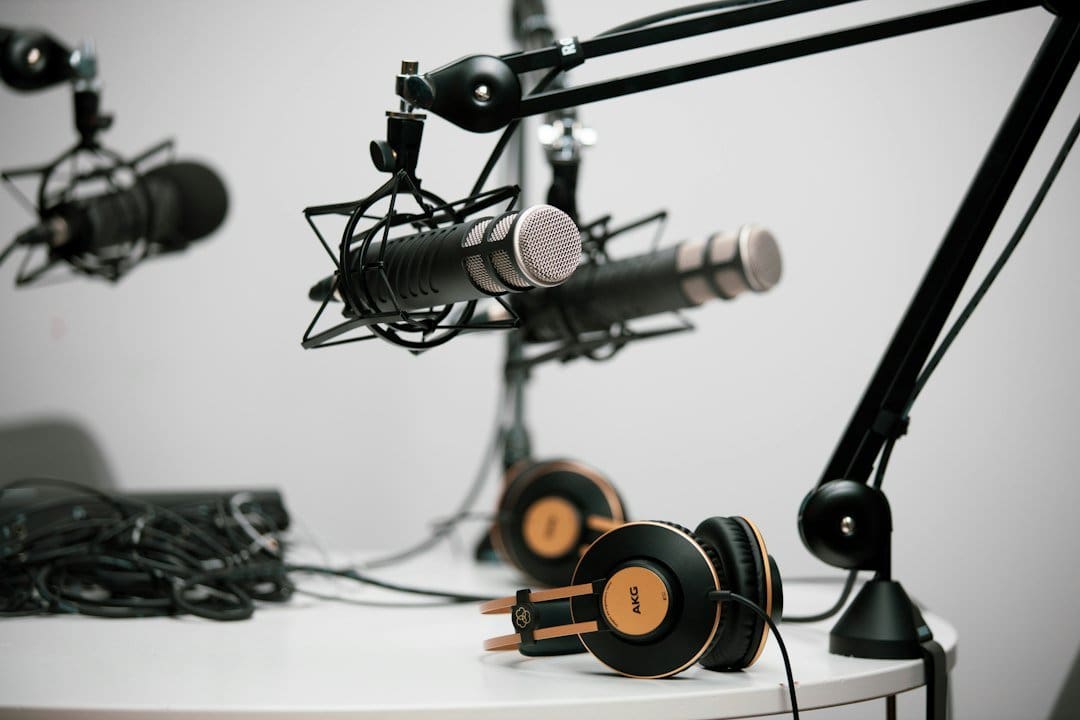
You’ll often see dynamic microphones in live performance settings, but they are also excellent for podcasts and voiceovers, especially if you’re in an untreated room. Their lower sensitivity means they pick up less ambient room noise, focusing more directly on your voice. This characteristic makes them a fantastic choice if you’re recording in an office, a bedroom, or any space where you can’t completely control external sounds. They tend to have a warmer, more full-bodied sound signature, which can be very flattering for vocal recordings. Popular examples include the Shure SM7B and Rode Procaster, often seen in professional podcasting studios.
Condenser Microphones: Capturing Every Detail
Condenser microphones operate on a different principle, using a capacitor to convert sound waves into electrical signals. Unlike dynamic mics, they require external power, typically 48V phantom power supplied by an audio interface, mixer, or dedicated power supply. Their key characteristic is their sensitivity; they are far more detailed and accurate in capturing sound.
This high sensitivity means condenser microphones excel at picking up the subtle nuances of your voice, capturing a broader frequency range and offering a more natural, airy sound. They are ideal for recording music, studio vocals, and podcasts in acoustically treated environments where you want to capture every detail. However, their sensitivity also means they will pick up more background noise, making them less suitable for noisy environments unless you have excellent sound isolation. You’ll find both large-diaphragm (for rich vocal tones) and small-diaphragm (for instruments and wider frequency response) condenser microphones. Popular options include the Rode NT1 and the Audio-Technica AT2020.
USB Microphones: Simplicity and Convenience
USB microphones are essentially condenser or dynamic microphones with a built-in analog-to-digital converter and a USB interface. This means you can plug them directly into your computer without needing an audio interface or mixer. They are incredibly convenient, offering a plug-and-play experience that makes them ideal for beginners, remote workers, and anyone needing a quick and easy setup.
While they might not offer the same level of audio fidelity and flexibility as their XLR counterparts, modern USB microphones have come a long way. Many now offer excellent sound quality, rivaling entry-level XLR setups. They are perfect for video calls, streaming, and podcasting on the go. The trade-off is often less control over gain and monitoring, and you can typically only use one USB microphone per computer unless you employ specific software workarounds. Popular choices include the Blue Yeti and Rode NT-USB+.
Lavalier Microphones: Discrete and Hands-Free
Lavalier microphones, often called lapel mics, are small, discreet microphones designed to clip onto your clothing, typically near your mouth. They are excellent for situations where you need to be hands-free and maintain consistent audio levels regardless of how you move your head. They come in wired and wireless versions.
Wired lavaliers are simple and reliable, connecting directly to your recording device. Wireless lavaliers offer greater freedom of movement but require transmitters and receivers, adding complexity and cost. Lavaliers are widely used in video production, interviews, presentations, and vlogging. While they offer convenience, their sound quality can sometimes be less robust than a dedicated desk microphone, as they are often omnidirectional (picking up sound from all directions) and can be prone to clothing rustle. However, for a clean, unobtrusive audio solution, they are invaluable.
Key Features to Consider When Buying a Microphone
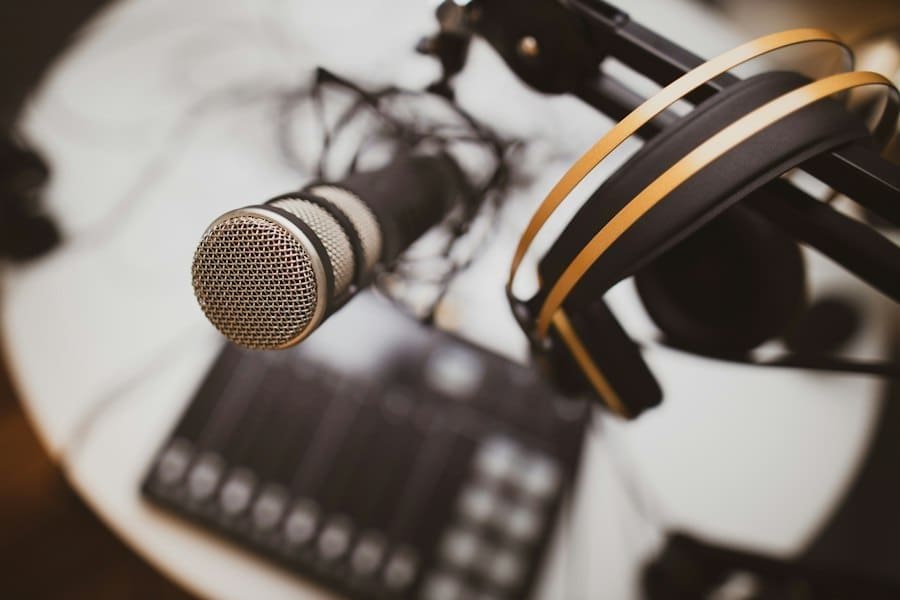
Choosing the right microphone isn’t just about picking a type; it’s about understanding the specifications and features that will best serve your specific needs. Diving into these details will ensure you make an informed decision that elevates your audio game.
Polar Patterns: Directing Your Sound Capture
A microphone’s polar pattern describes its sensitivity to sounds coming from different directions. Understanding this is crucial for isolating your voice and minimizing unwanted background noise.
Cardioid: Your Best Friend for Solo Recordings
The cardioid pattern is heart-shaped and is most sensitive to sounds coming from directly in front of the microphone, with decreasing sensitivity from the sides and maximum rejection from the rear. This makes it ideal for solo podcasters, gamers, and anyone recording in a less-than-perfect acoustic environment. It effectively isolates your voice while minimizing room reverb and background chatter. Many popular podcasting microphones, both dynamic and condenser, utilize a cardioid pattern.
Omnidirectional: Capturing the Whole Room
An omnidirectional polar pattern picks up sound equally from all directions. While this might seem counterintuitive for individual voice recording, it’s invaluable for specific scenarios. Think about recording a group discussion around a table, capturing ambient sounds, or interviewing multiple people simultaneously with a single mic. Lavalier microphones are often omnidirectional, as they aim to capture your voice regardless of head movement. For podcasts or video calls where you need to include environmental sounds or have multiple speakers without individual mics, omnidirectional can be a powerful, albeit less common, choice.
Bidirectional (Figure-8): Ideal for Two-Person Interviews
The bidirectional, or figure-8, pattern picks up sound equally from both the front and the rear of the microphone while rejecting sounds from the sides. This pattern is particularly useful for two-person interviews where you and your guest are sitting opposite each other, with the microphone placed between you. It allows for a natural-sounding conversation without needing two separate microphones. Some USB microphones offer a switchable pattern that includes bidirectional, adding versatility.
Connectivity: USB vs. XLR
Your microphone’s connection type dictates how you connect it to your computer or recording device, and it has implications for sound quality, expandability, and ease of use.
USB Connectivity: Simplicity Personified
USB microphones are the epitome of plug-and-play. They connect directly to your computer’s USB port, acting as their own audio interface. This is fantastic for beginners, remote workers, streamers, and anyone who values convenience above all else. You don’t need any additional equipment like audio interfaces or mixers. However, this simplicity often comes with limitations: you typically can’t use more than one USB mic simultaneously without workarounds, and you have less granular control over gain and signal processing compared to XLR setups. For basic video calls and entry-level podcasts, USB is often sufficient and highly recommended for ease of setup.
XLR Connectivity: Professional Control and Flexibility
XLR cables are the professional standard for connecting microphones to audio interfaces, mixers, or preamps. XLR microphones offer superior audio quality, lower noise floors, and greater flexibility. With an XLR setup, you can connect multiple microphones to a single audio interface, integrate professional-grade mixers for advanced audio routing and effects, and benefit from phantom power typically provided by these interfaces. This path offers more room for growth and higher fidelity. If you’re serious about podcasting, plan to upgrade your setup, or require multiple inputs, an XLR microphone paired with a good audio interface is the way to go.
Frequency Response: The Sound Spectrum
Frequency response refers to the range of frequencies (from low bass to high treble) a microphone can capture and reproduce accurately. A wide and flat frequency response generally indicates a microphone that can capture sound faithfully across the entire audible spectrum.
For voice, you typically want a microphone that handles the human vocal range well, usually from around 80 Hz to 15 kHz. Some microphones might have a slight boost in the higher frequencies to add “presence” or clarity to vocals, or a subtle roll-off in the low end to reduce plosives and rumble. While a perfectly flat response is ideal in a studio setting, a microphone tailored for voice often has subtle frequency contours designed to make voices sound richer and clearer. Always check the frequency response chart if available, but for most general users, a mic designed for vocals will naturally have a suitable response.
Built-in Features: Convenience and Control
Modern microphones often come with a suite of built-in features that enhance usability and sound quality.
Headphone Jack: Real-Time Monitoring
A crucial feature for any recording scenario is a built-in headphone jack with zero-latency monitoring. This allows you to hear your voice as the microphone picks it up, without any delay (latency). This is invaluable for adjusting your speaking volume, checking for plosives (harsh P and B sounds), and ensuring your audio levels are correct. Many USB microphones include this, and it’s a non-negotiable feature for serious recording.
Gain Control: Level Management
Onboard gain control allows you to adjust the microphone’s input sensitivity directly on the device. This is vital for setting appropriate recording levels, preventing clipping (distortion from being too loud), and ensuring your voice is neither too quiet nor too overwhelming. While audio interfaces offer more precise gain control, a physical dial on a USB microphone provides immediate, tactile feedback.
Mute Button: Instant Silence
A dedicated mute button on the microphone itself is a small but incredibly convenient feature, especially for video calls. It allows you to instantly silence your microphone without fumbling with software settings, perfect for coughing, having a quick side conversation, or dealing with unexpected background noise.
Top Recommendations for Video Calls
When it comes to video calls, clarity, ease of use, and effective noise reduction are paramount. You want to sound professional without needing a complex setup. Here are some top picks that balance performance with convenience.
Blue Yeti USB Microphone: The Go-To for Versatility
The Blue Yeti has been a dominant force in the USB microphone market for years, and for good reason. Its versatility is its strongest suit. You get four selectable polar patterns: cardioid, omnidirectional, bidirectional, and stereo. For video calls, the cardioid pattern is your best friend, effectively focusing on your voice and minimizing room echo. It plugs directly into your computer via USB, making setup a breeze. It also features a headphone jack for zero-latency monitoring, a gain control knob, and a mute button right on the microphone.
The Yeti delivers a clear, full-bodied sound that is a significant upgrade over any built-in laptop microphone. While it can pick up some background noise due to its condenser nature, positioning it correctly and utilizing the cardioid pattern helps mitigate this. Its sturdy build and relatively large size mean it’s not the most portable, but for a home office or fixed desk setup, it’s an excellent choice that offers fantastic value and flexibility for a wide range of uses beyond just video calls.
Rode NT-USB Mini: Compact Powerhouse
If you love the idea of a high-quality USB microphone but prefer something more compact and sleek than the Yeti, the Rode NT-USB Mini is an outstanding contender. This small but mighty condenser microphone delivers exceptional sound quality for its size and price point. It features a high-quality condenser capsule that provides warm, professional-sounding audio, perfect for video calls where clarity and presence are key.
It only offers a cardioid polar pattern, which is exactly what you want for individual voice recording, ensuring it picks up your voice clearly while rejecting off-axis sounds. Like the Yeti, it boasts a built-in headphone amplifier for zero-latency monitoring, and it connects via USB-C for modern compatibility. Its magnetic desktop stand is a clever design element, allowing you to easily detach the mic and mount it on a boom arm. The NT-USB Mini is an ideal choice for those who want studio-quality audio in a minimalist, easy-to-use package, making you sound polished on every video conference.
HyperX QuadCast S: For the Gamer and the Professional
While often marketed towards gamers, the HyperX QuadCast S (and its non-S predecessor) is a surprisingly capable microphone for video calls and even podcasting. Its distinctive design with customizable RGB lighting makes it stand out, but its audio performance is what truly shines. It’s a USB condenser microphone that offers four polar patterns (cardioid, bidirectional, omnidirectional, and stereo), providing versatility for various scenarios.
For video calls, stick to cardioid for focused voice capture. It produces rich, clear audio, making your voice stand out. A key feature for video calls is its tap-to-mute sensor with an LED indicator, allowing for quick and intuitive muting – a lifesaver in busy meetings. It also includes a built-in pop filter and an anti-vibration shock mount, which helps reduce unwanted thumps and rumble from your desk. If you appreciate aesthetic flair alongside solid audio performance and practical features, the QuadCast S is a strong contender that seamlessly transitions from gaming to professional communication.
If you’re looking to enhance your audio quality for video calls and podcasts, you might also find it helpful to explore the article on the Best Headphones for Recording and Streaming. This resource provides insights into selecting headphones that complement your microphone setup, ensuring a seamless audio experience. For more details, check out the article here.
Top Recommendations for Podcasting
Podcasting demands higher audio fidelity, consistent performance, and often more control. While some USB mics can cross over, dedicated XLR microphones often provide the best results for serious podcasters.
Shure SM7B: The Podcasting Legend
When you picture a professional podcasting studio, chances are you’re picturing the Shure SM7B. This dynamic microphone is an industry standard for vocals, renowned for its rich, smooth, and warm sound profile that flatters almost any voice. Its robust construction and excellent off-axis rejection make it incredibly forgiving in less-than-perfect acoustic environments, capturing your voice clearly while minimizing room echo and background noise.
The SM7B requires an audio interface with significant clean gain (at least 60dB) due to its low output level. This means you’ll also need an XLR cable and potentially a dedicated preamp or an in-line gain booster (like a Cloudlifter) to get the best performance. While this adds to the initial investment and complexity, the resulting audio quality is unparalleled for voice. It has built-in pop filtering and an internal shock mount, further contributing to its clean sound. If you’re serious about podcasting and want a microphone that will last decades and deliver broadcast-quality audio, the SM7B is the ultimate choice.
Rode Procaster: Broadcast Quality Without the High Gain Demands
The Rode Procaster is another dynamic microphone specifically designed for broadcast-quality voice recording, offering a compelling alternative to the SM7B. It shares many of the SM7B’s strengths: excellent off-axis rejection, a rich and warm vocal tone, and robust build quality. However, the Procaster has a higher output level than the SM7B, meaning it typically doesn’t require as much gain from your audio interface, making it a bit easier to drive and potentially saving you the cost of an additional gain booster.
It features an internal pop filter to minimize plosives and its tight cardioid pattern ensures your voice is front and center. The Procaster provides a very polished, professional sound that sounds great right out of the box with minimal post-processing. It’s a fantastic choice for podcasters who want that “radio voice” sound and excellent noise rejection but prefer a slightly simpler setup in terms of gain requirements compared to the SM7B. It’s a workhorse that will deliver consistently high-quality audio for years.
Electro-Voice RE20: The Radio Icon
Another legendary dynamic microphone in the broadcast world, the Electro-Voice RE20 offers a distinctly clear and natural sound that has graced countless radio stations and podcasts. What sets the RE20 apart is its “Variable-D” technology, which effectively eliminates the proximity effect (the boomy bass boost that occurs when you get very close to some microphones). This allows you to get close to the mic for a full, intimate sound without the low-end muddiness, offering more freedom in mic technique.
Like the SM7B and Procaster, it’s a dynamic microphone with a cardioid pattern, offering superb background noise rejection. It produces a very balanced and articulate sound that requires little equalization. The RE20 is built like a tank and delivers consistently high-quality audio. It’s an excellent choice for podcasters who value clarity, consistency, and the flexibility to work close to the microphone without worrying about excessive bass build-up. It does, like the SM7B, benefit from a good preamp with ample clean gain.
Rode NT1 (5th Gen): Condenser Excellence for Treated Spaces
If you’re recording in an acoustically treated room or a quiet environment, and you want to capture every nuance of your voice with pristine clarity, the Rode NT1 is an exceptional large-diaphragm condenser microphone. The 5th generation is particularly noteworthy as it offers both XLR and USB connectivity, providing incredible versatility. This means you can use it as a plug-and-play USB microphone for convenience or connect it via XLR to an audio interface for professional-grade recording and flexibility.
The NT1 is celebrated for its incredibly low self-noise, meaning it captures your voice with remarkable clarity and detail without introducing any hiss or background hum from the microphone itself. It delivers a bright, articulate, and natural sound that brings out the best in vocals. While condensers are more sensitive to room acoustics than dynamics, if your space is well-controlled, the NT1 will provide a sparkling, broadcast-ready sound that is rich in detail and presence. The 5th Gen’s dual connectivity makes it an incredibly powerful and future-proof choice for podcasters.
Setting Up Your Microphone for Optimal Performance
Even the best microphone won’t sound great if it’s not set up correctly. A few simple adjustments can make a world of difference in your audio quality.
Microphone Placement: Your Voice’s Sweet Spot
Proper microphone placement is perhaps the most critical factor after choosing a good microphone. For most cardioid microphones (which you’ll likely be using), aim to speak directly into the front of the microphone, not across the top or into the side unless it’s a side-address microphone (like many large-diaphragm condensers, where you speak into the broad face).
Distance from Your Mouth: The Goldilocks Zone
The ideal distance is typically 4-12 inches (10-30 cm) from your mouth.
- Too close: You risk excessive proximity effect (unnatural bass boost), plosives (harsh P and B sounds), and breath noise.
- Too far: Your voice will sound thin, distant, and room echo will become more prominent.
Experiment within this range to find the sweet spot where your voice sounds full and clear without being boomy or capturing too much room sound. For dynamic microphones like the SM7B or Procaster, you can often get a bit closer (4-6 inches) for that intimate broadcast sound. For sensitive condenser mics, you might want to be a bit further back (6-12 inches).
Using a Pop Filter: Taming Plosives
A pop filter is an essential accessory for any vocal recording. It’s a mesh screen placed between your mouth and the microphone that diffuses the sudden burst of air from plosive sounds (like “p” and “b”), preventing them from hitting the microphone capsule directly and causing a distracting thumping sound. Even microphones with internal pop filters benefit from an external one for optimal performance. Place it about 1-2 inches from the microphone and speak through it.
Gain Staging: The Foundation of Clean Audio
Gain staging refers to setting the input level of your microphone correctly. This is crucial for avoiding clipping (distortion) and ensuring your signal is strong enough without being too noisy.
Setting Your Input Level: Aim for -12dB to -6dB Peak
When speaking at your normal volume, your audio levels should consistently peak in the yellow range of your meter, typically between -12dB and -6dB.
- Too low: Your audio will be quiet and require boosting in post-production, which will also amplify any background noise.
- Too high: Your audio will clip (distort) at the loudest parts, resulting in an unrecoverable, harsh sound.
Adjust the gain knob on your audio interface, USB microphone, or mixer while speaking naturally. Do a quick test recording where you speak slightly louder than usual to ensure there’s no clipping. It’s always better to record a little quieter and boost in post-production than to record too loud and clip.
Acoustic Treatment: Minimizing Unwanted Reflections
While a good microphone helps, even the best mic will pick up reflections and echoes in an untreated room. Acoustic treatment aims to absorb or diffuse sound waves, reducing reverb and improving clarity.
Simple Solutions for Home Setups
You don’t need a professional studio to improve your room’s acoustics.
- Soft furnishings: Carpets, rugs, curtains, upholstered furniture, and even bookshelves filled with books can help absorb sound.
- Quilts and blankets: Hanging heavy blankets or quilts on walls (especially behind you) can significantly reduce echo.
- Clothes closets: Recording inside a walk-in closet full of clothes is a surprisingly effective, budget-friendly “vocal booth” as the clothing absorbs sound well.
- Foam panels: While not a magic bullet, strategically placed acoustic foam panels can help, particularly in reducing flutter echo between parallel hard surfaces.
The goal is to deaden the room slightly so your voice sounds natural and clear, without distracting echoes. Even minor improvements can make a noticeable difference in your final audio quality.
P.S. Enjoyed this? Become an insider and I'll send you one of my favourite posts every couple of weeks.